How to Apply Clear Sealant on Floor Tile Decals for Enhanced Durability
A Comprehensive Guide
Floor tile decals are a fantastic way to update your floors with minimal effort and cost. However, to maximize their lifespan and maintain their pristine appearance, applying a clear sealant can be a game-changer. This guide will walk you through the process of applying clear sealant on floor tile decals and explore the pros and cons of this essential step.
Why Apply Clear Sealant to Floor Tile Decals?
Applying clear sealant helps protect your floor tile decals from daily wear and tear, moisture, and stains. It provides an additional layer of defense, ensuring your decals stay vibrant and last longer.
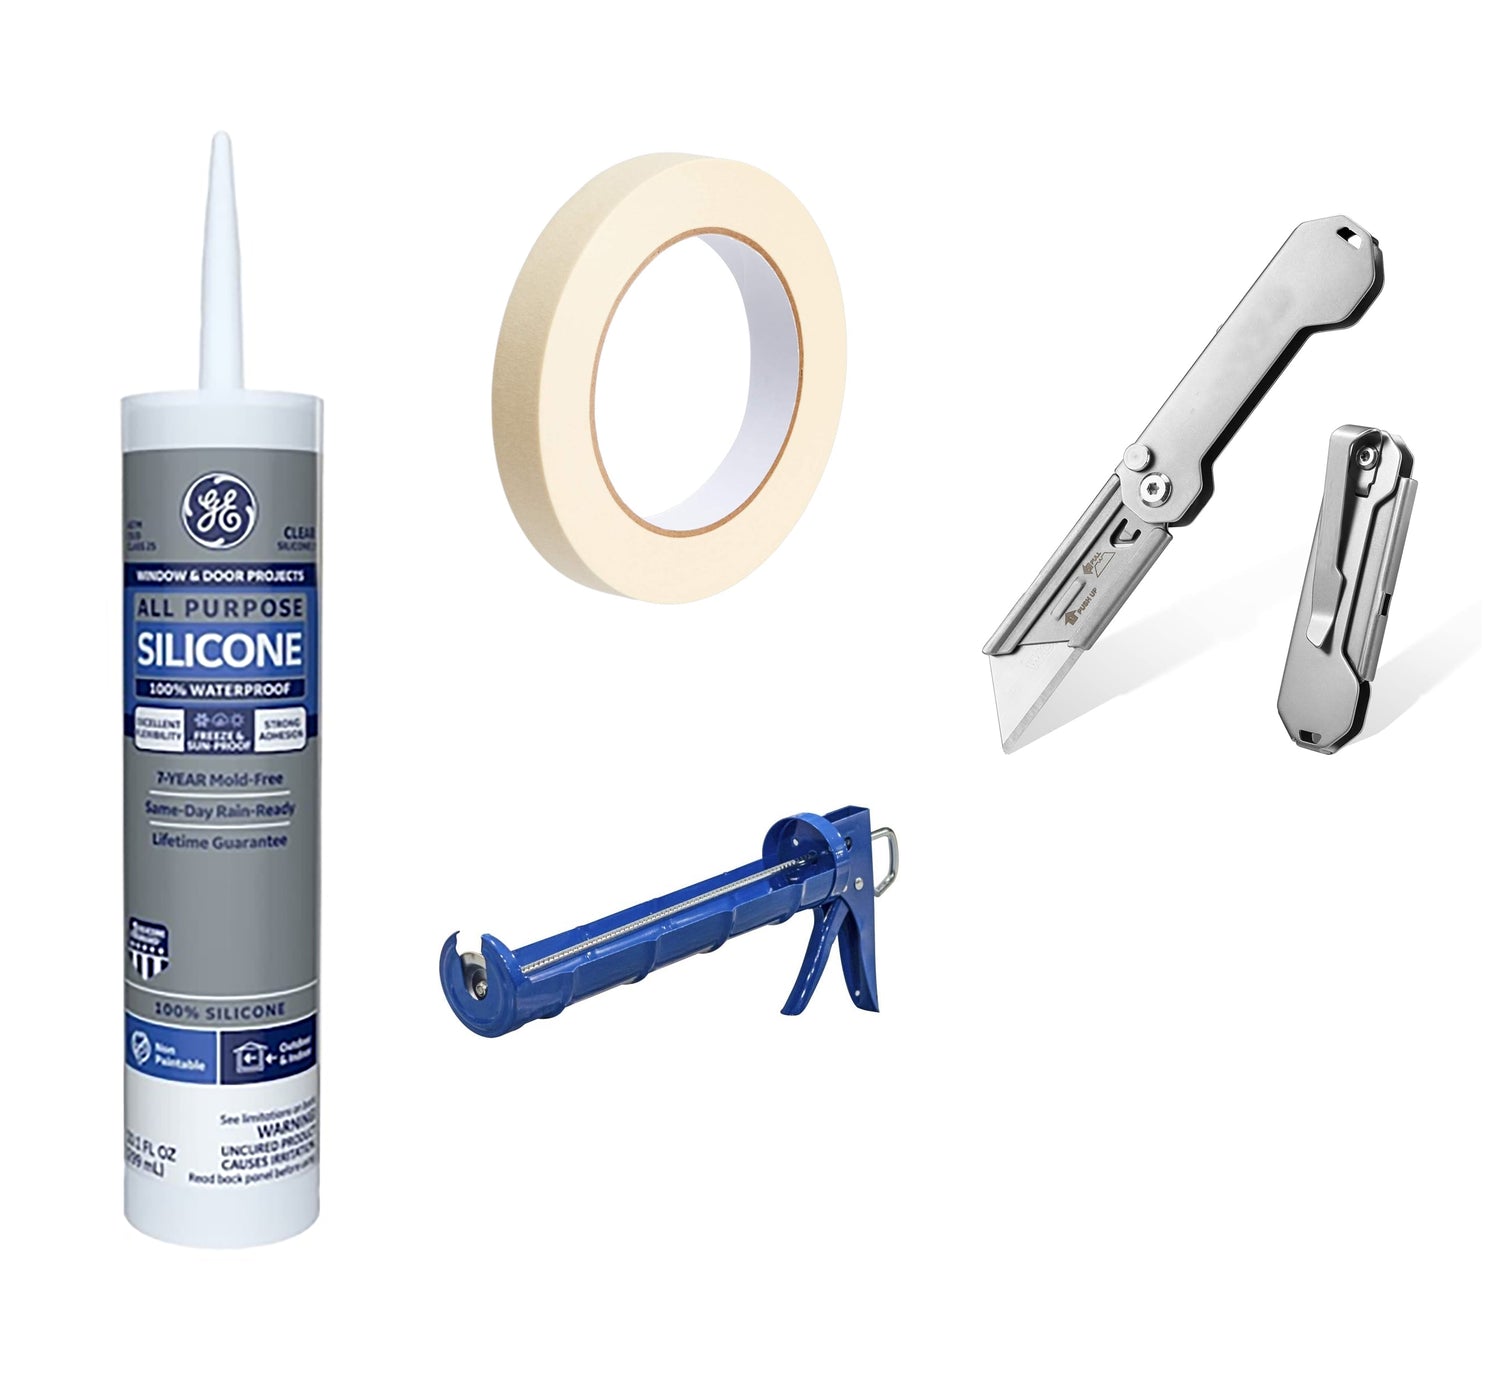
Materials Needed
Clear sealant (preferably acrylic latex or polyurethane)
Caulking gun (if using tube sealant)
Clean cloths
Mild soap and water solution
Utility knife / X-acto Knife
Masking tape
Step-by-Step Application
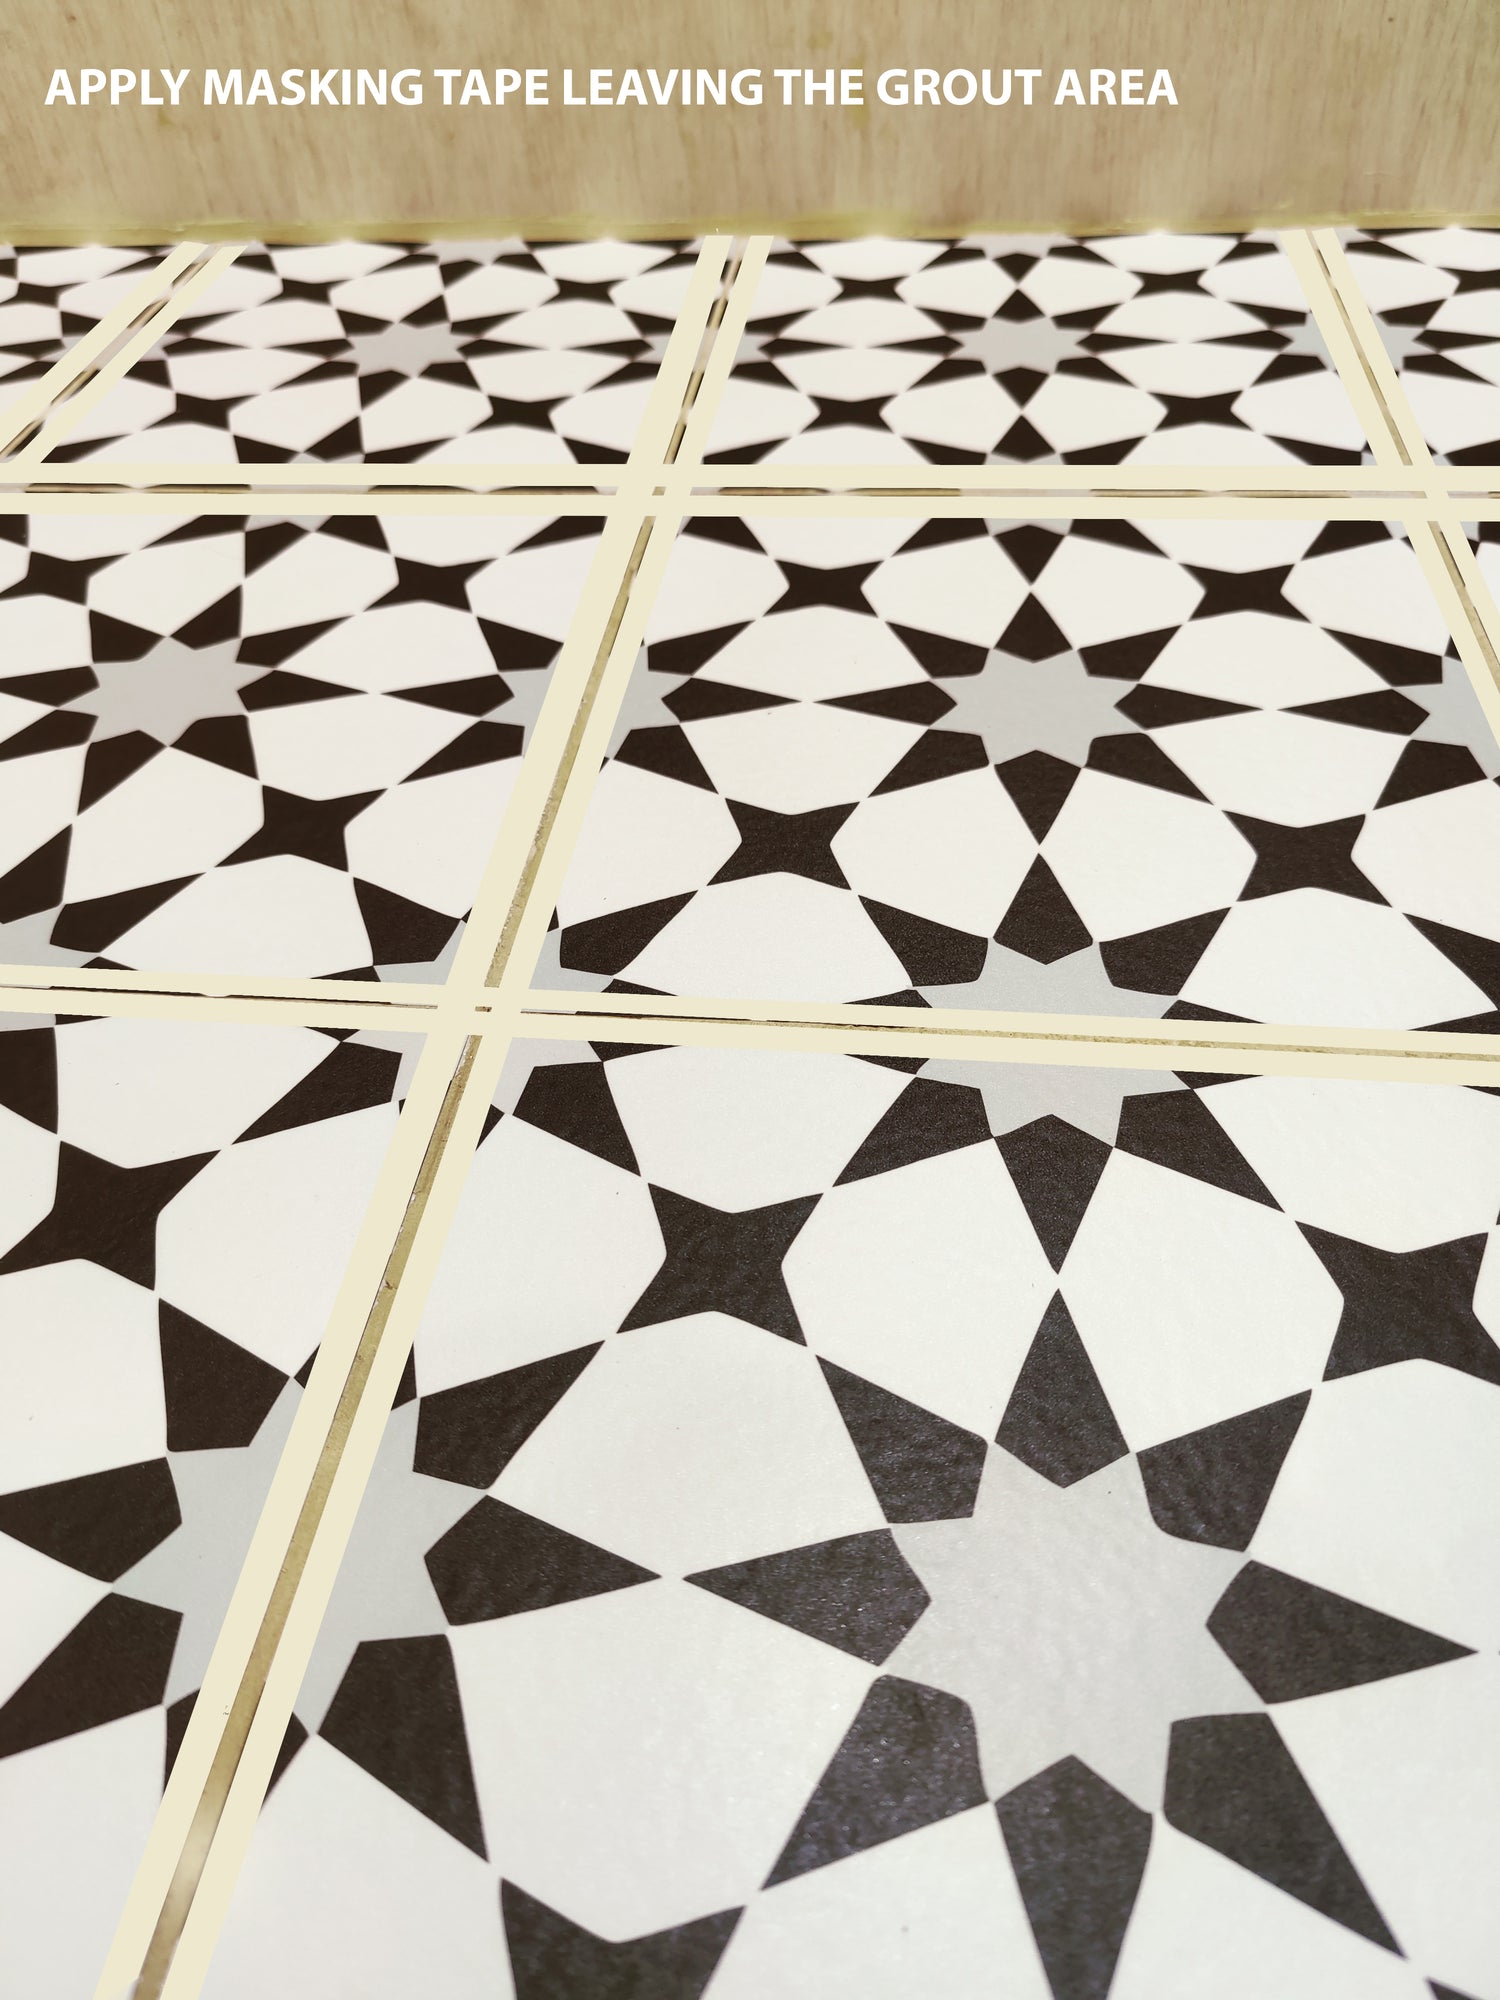
1. Prepare the Surface
Clean the Floor: Thoroughly clean the floor tile decals and the surrounding area. Use a mild soap and water solution to remove dust, dirt, and debris. Make sure the area is completely dry before proceeding.
Apply Masking Tape: Use masking tape to outline the edges of the decals. This will help you apply the sealant neatly and prevent it from spreading onto unwanted areas.
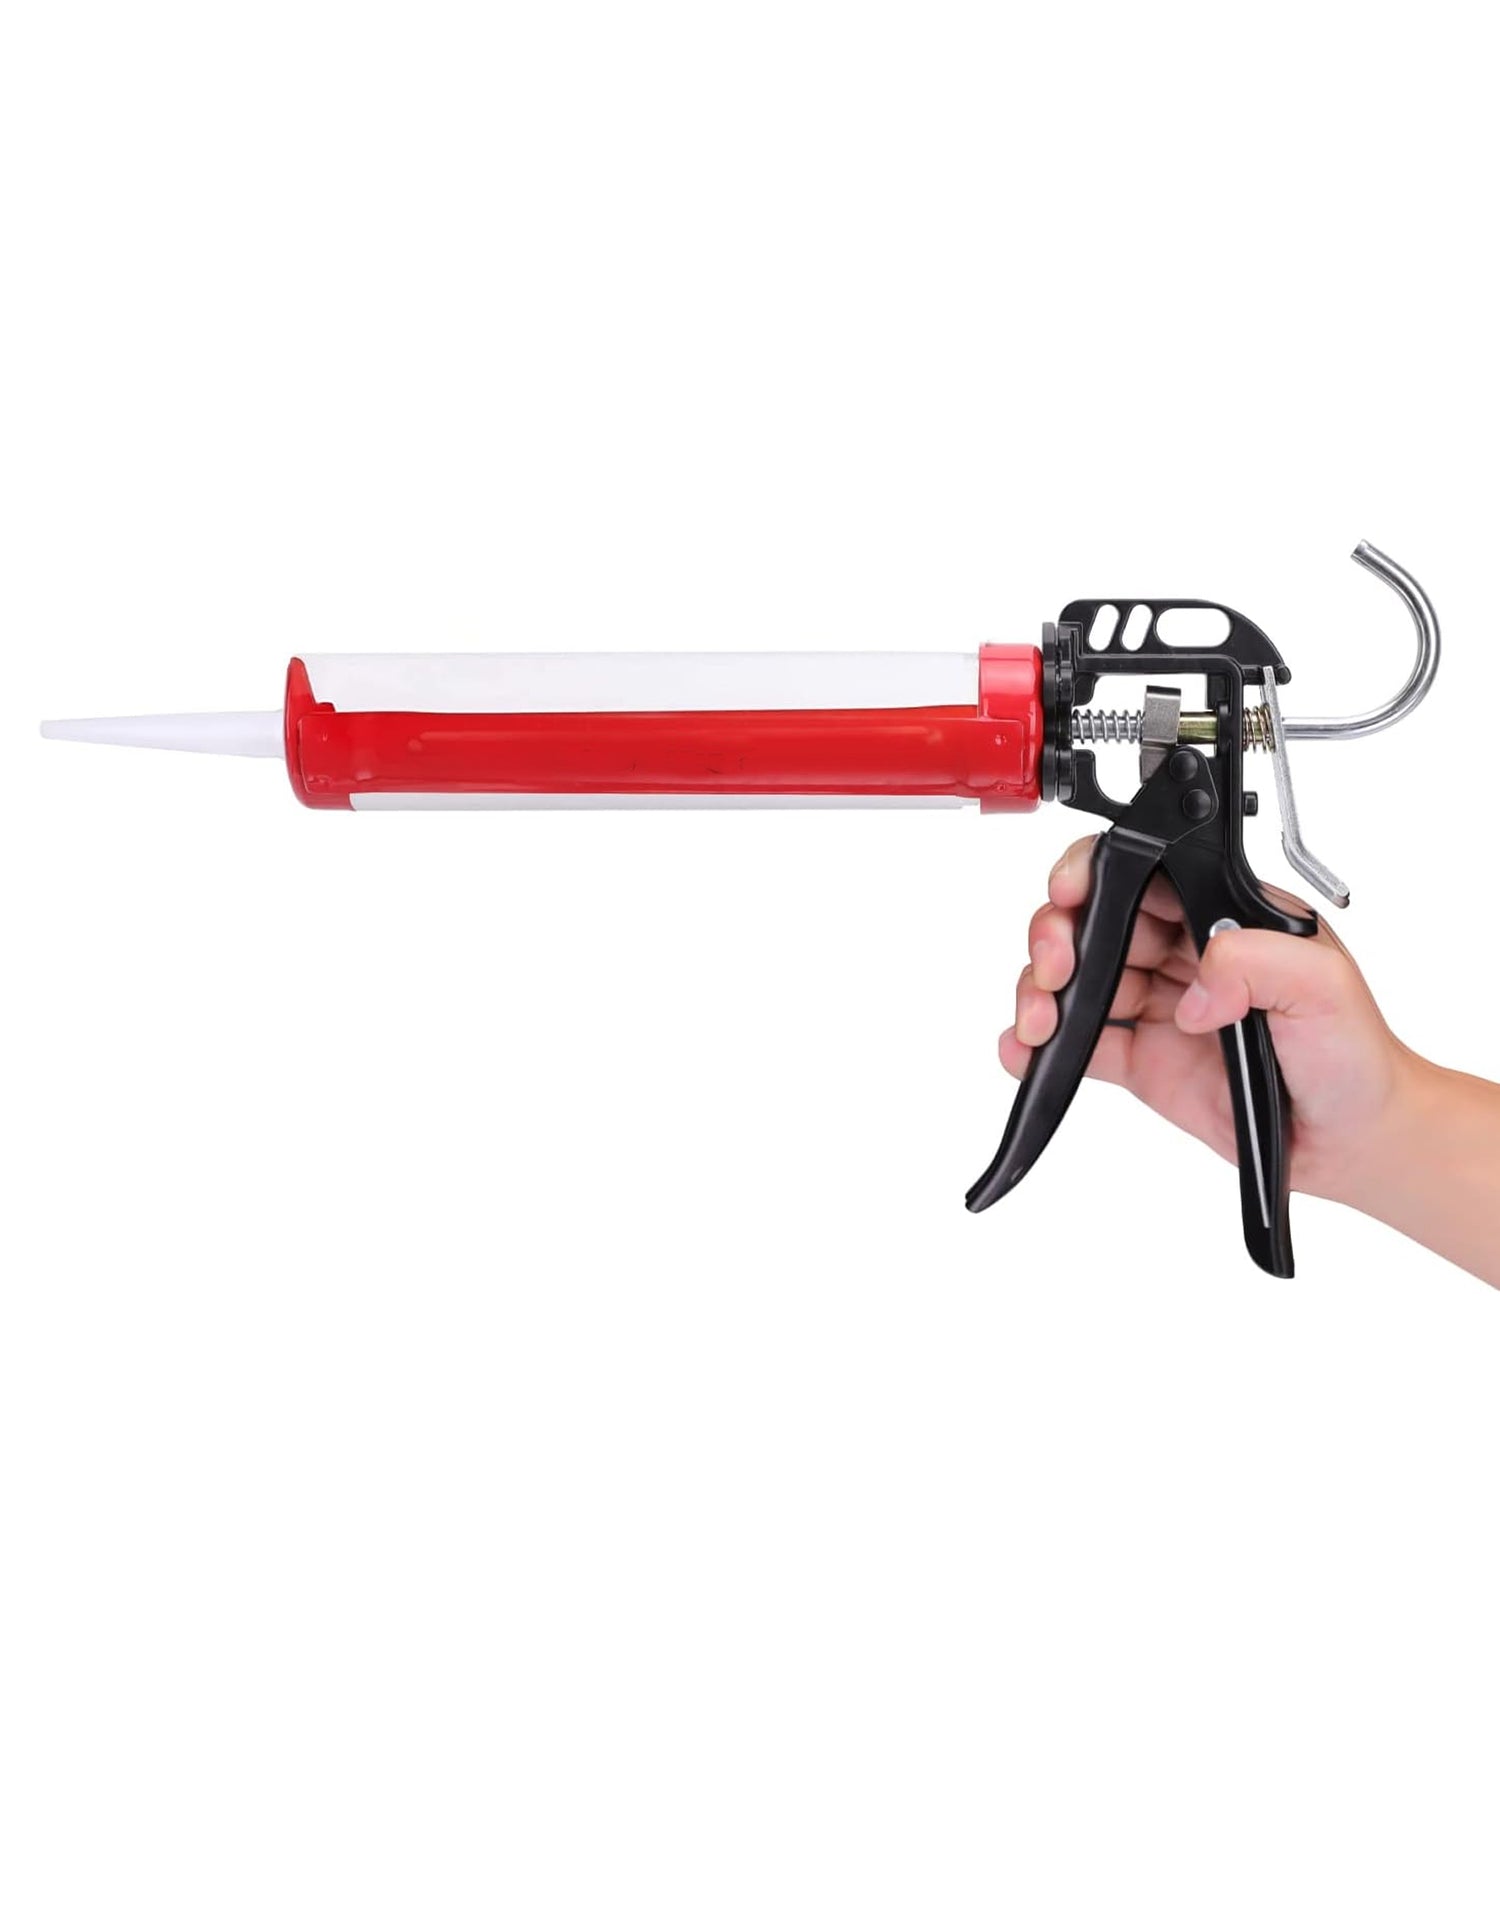
2. Select and Prepare the Sealant
Choose the Right Sealant: Acrylic latex sealants are easy to apply and clean up with water, while polyurethane sealants offer superior durability and resistance to chemicals but may require solvent-based clean-up.
Prepare the Sealant: If using a tube sealant, cut the tip at a 45-degree angle to control the flow. If using a can, stir the sealant thoroughly before application.
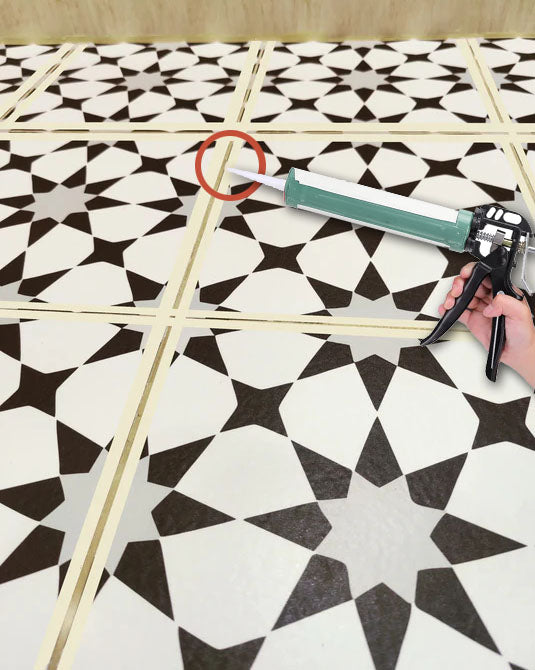
3. Apply the Sealant
For Tube Sealant: Apply a thin, even bead of sealant along the edges of the decals. Use a caulking gun to control the flow and avoid over-applying.
For Can Sealant: Use a paintbrush or small roller to apply a thin, even coat of sealant over the entire surface of the decals. Be sure to cover all edges and corners.
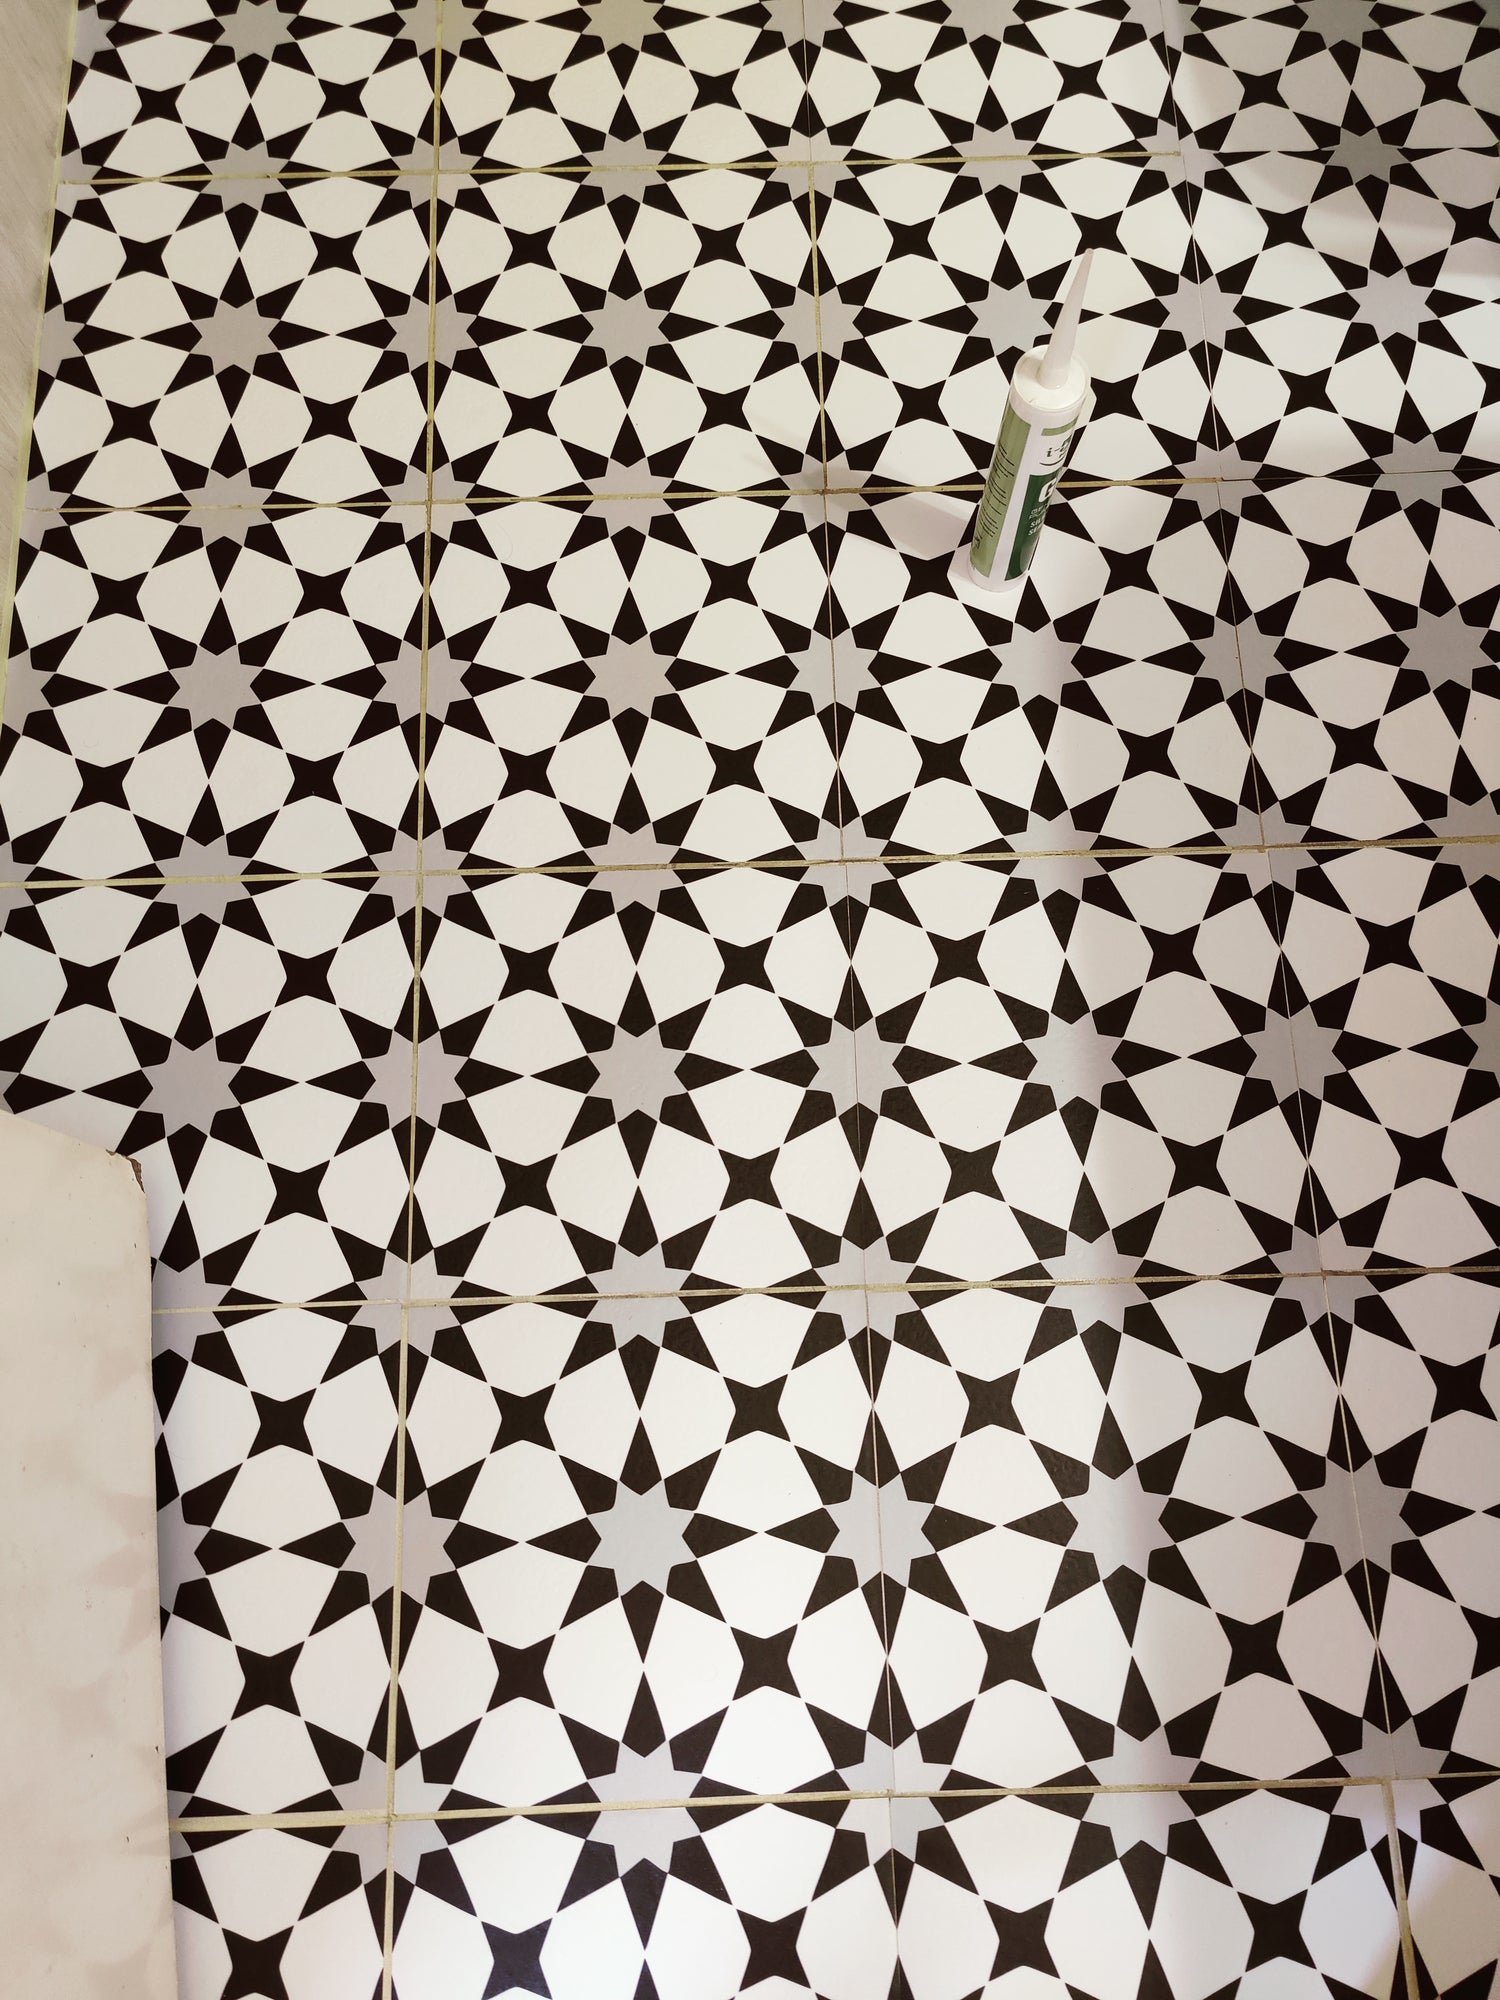
4. Smooth and Clean Up
Smooth the Sealant: Use a clean cloth or a caulk smoothing tool to smooth out any uneven areas and ensure the sealant is evenly distributed.
Remove Masking Tape: Carefully peel away the masking tape while the sealant is still wet to achieve clean edges.
Clean Up: Wipe away any excess sealant immediately with a clean cloth. For acrylic latex sealants, water is sufficient. For polyurethane sealants, use a solvent as recommended by the manufacturer.
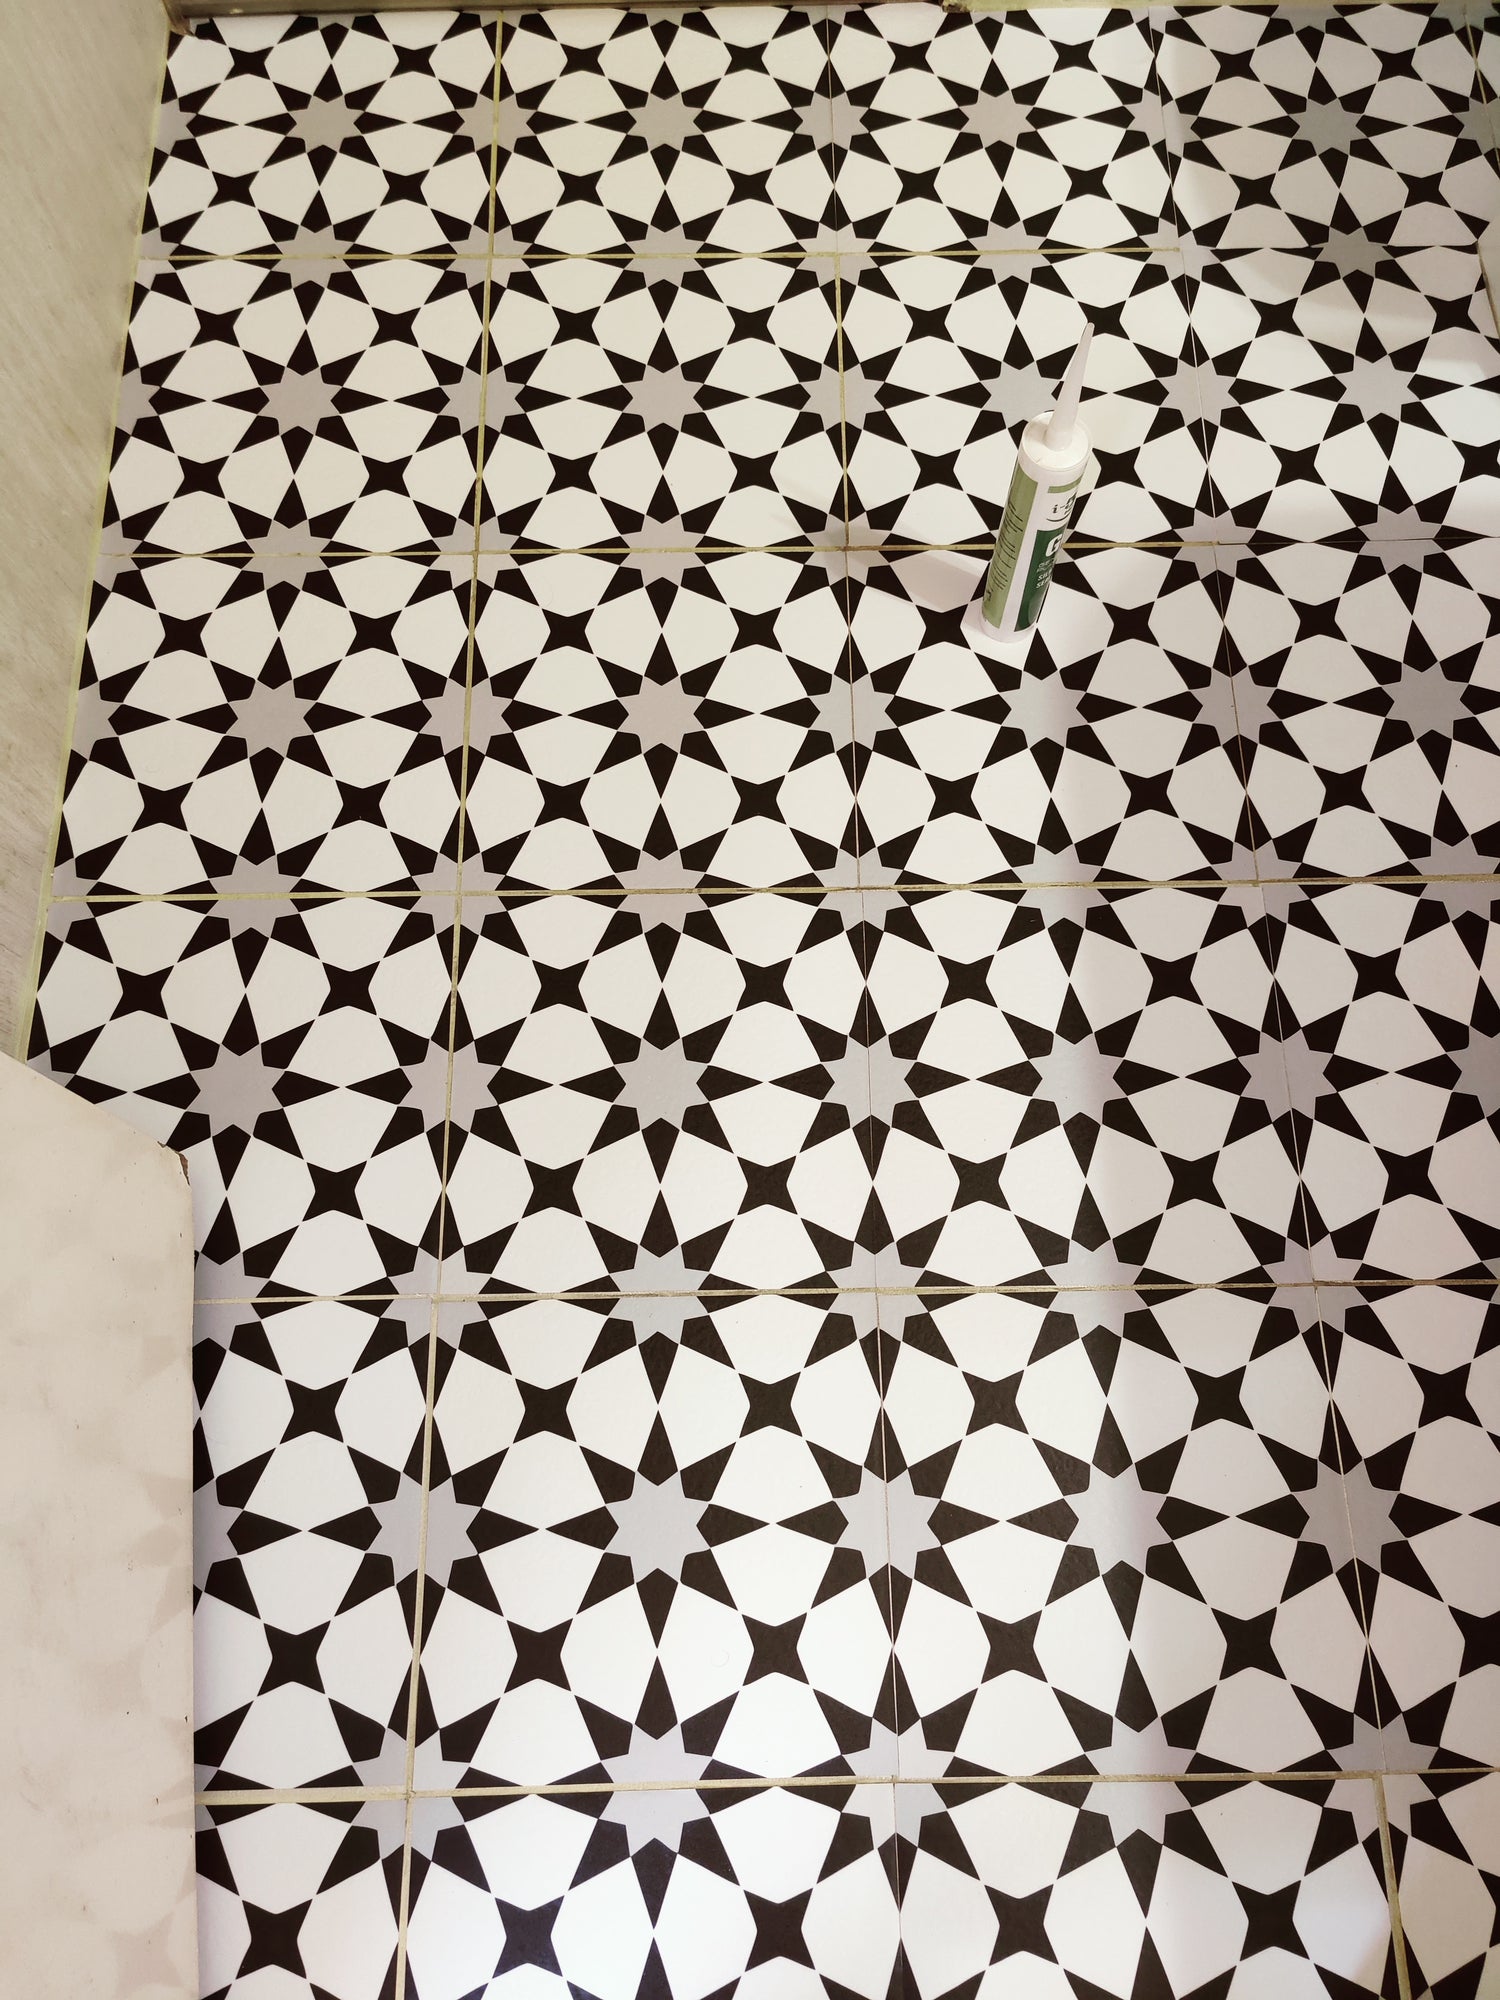
5. Allow to Cure
Drying Time: Let the sealant cure as per the manufacturer's instructions, typically 24-48 hours. Avoid walking on the decals during this period to ensure the sealant sets properly
Pros and Cons of Applying Clear Sealant
Pros
- Increased Durability: Protects decals from damage caused by foot traffic, moisture, and spills.
- Easy Maintenance: Simplifies cleaning by making the surface more resistant to stains and grime.
- Moisture Protection: Helps prevent water from seeping underneath the decals, reducing the risk of peeling or bubbling.
Cons
- Application Complexity: Requires careful application and drying time, which might be time-consuming.
- Cost: While generally affordable, there is an additional cost for purchasing sealant and any tools required for application.
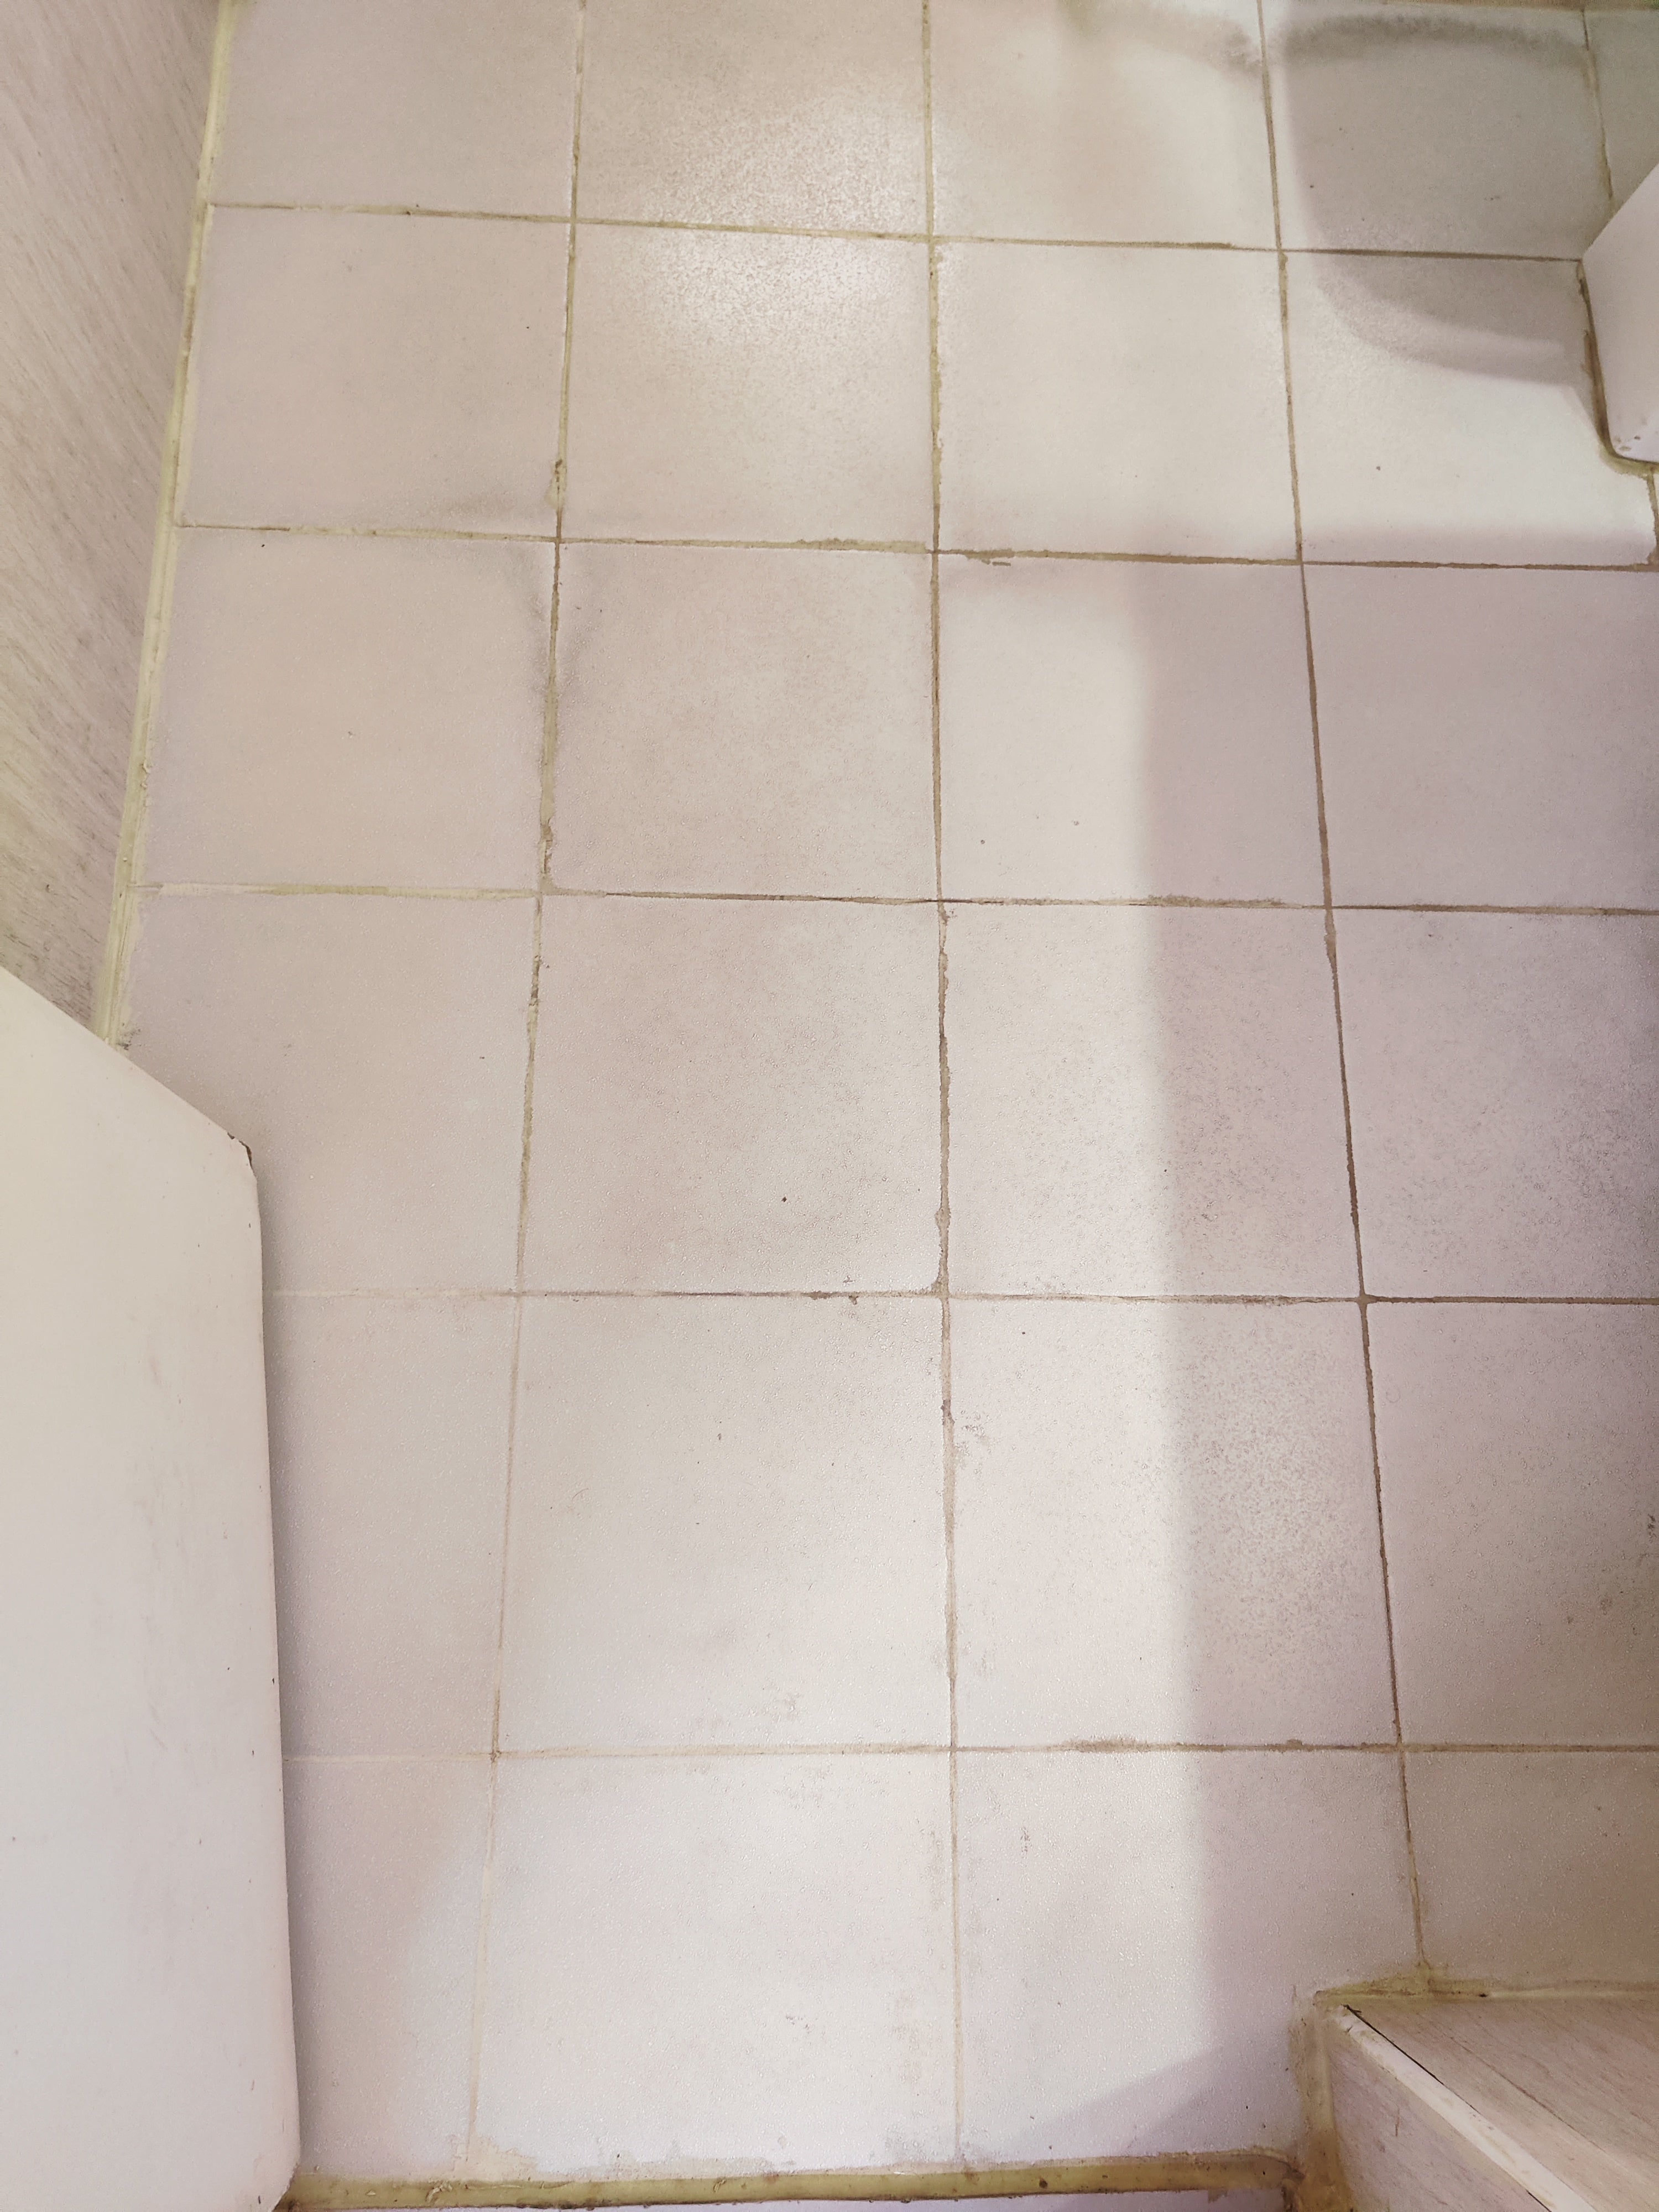
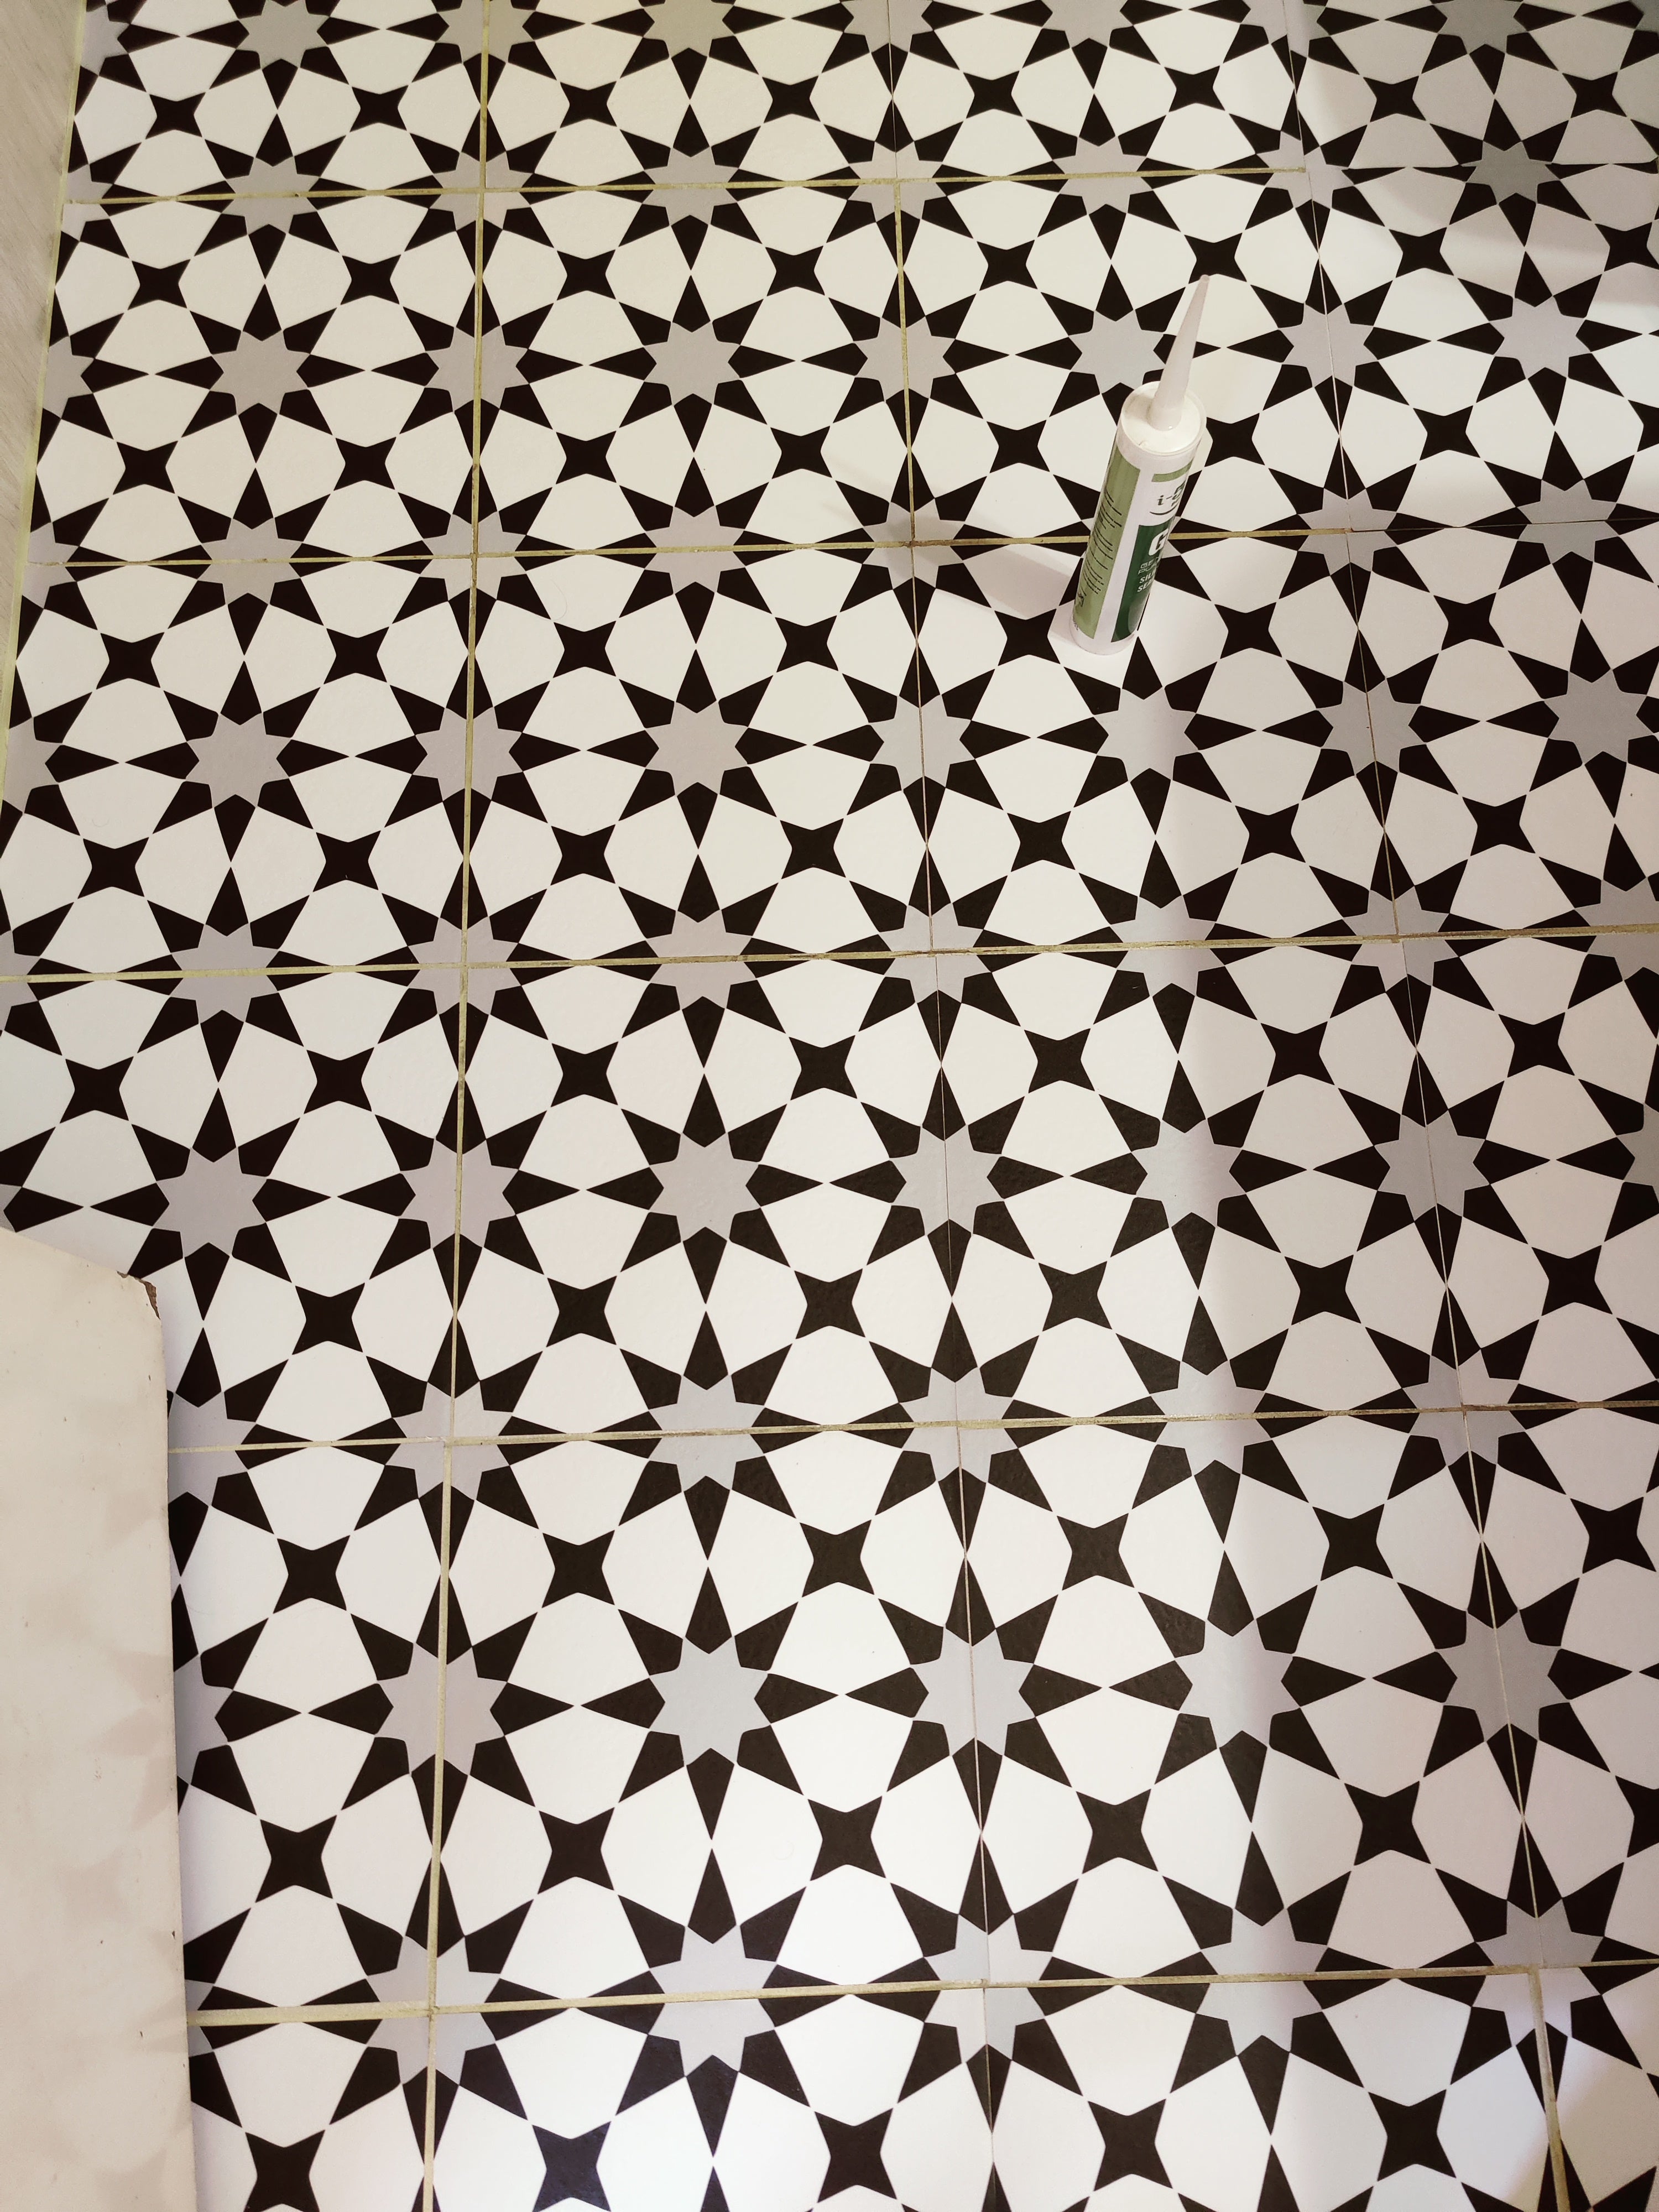
BEFORE & AFTER
10+ Years durability - Applying sealant significantly enhances the durability of floor tiles. It acts as a protective barrier against moisture and everyday wear, ensuring that the tiles remain both visually appealing and functional for years to come
